How to Verify Portrait Likeness Before You Use It
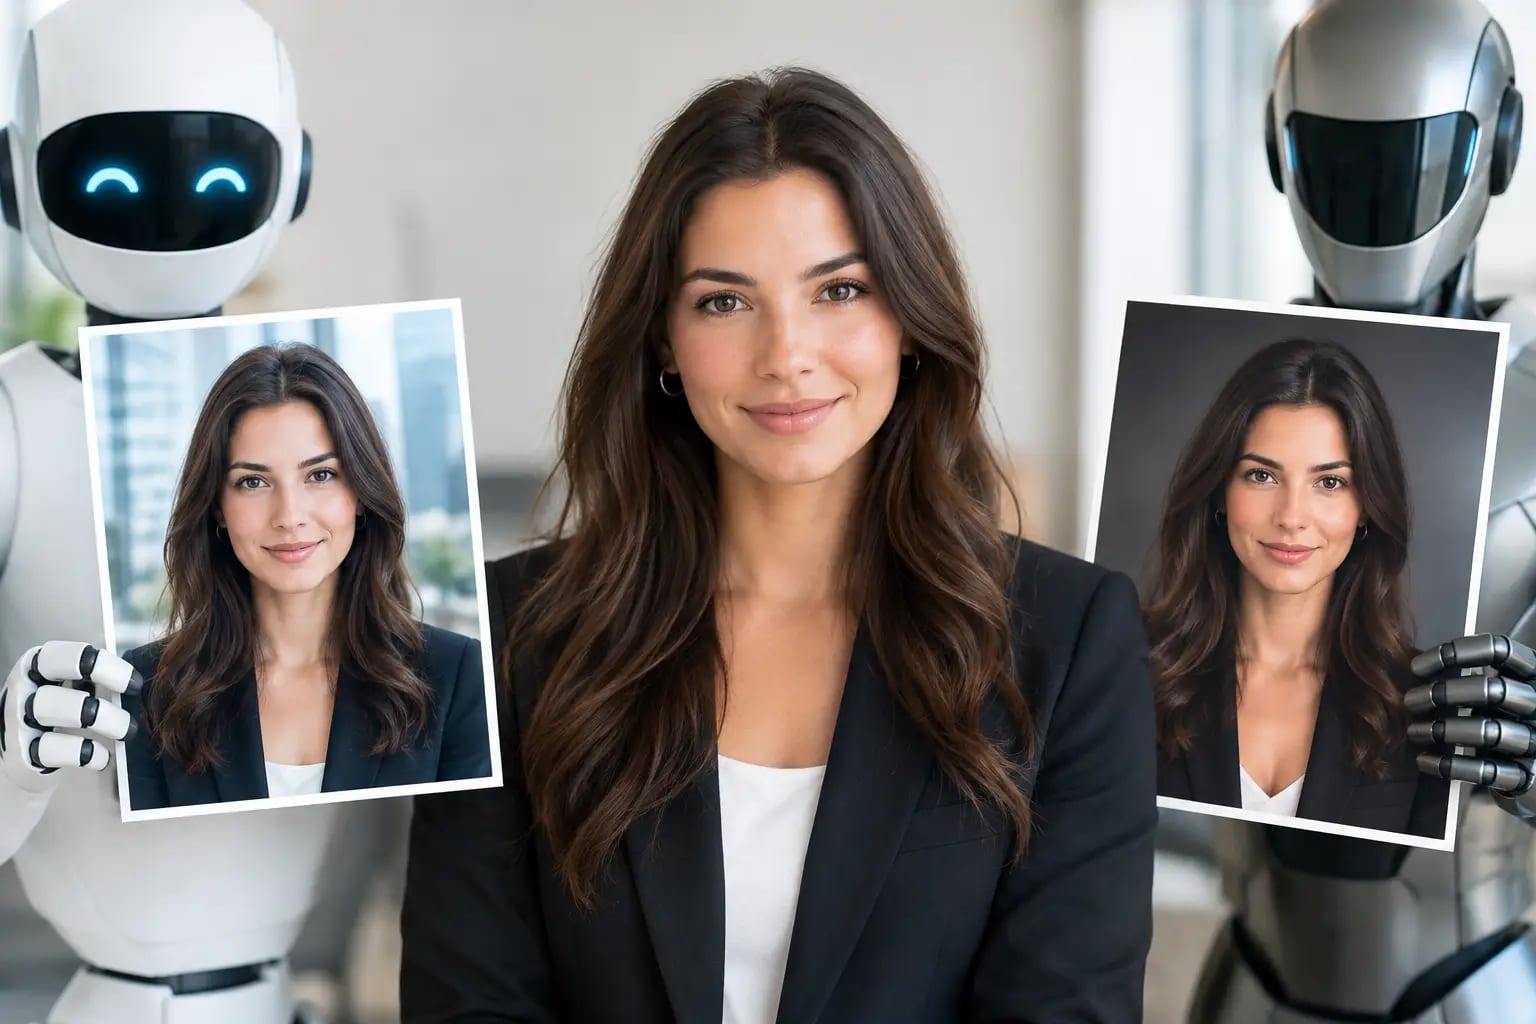
A polished headshot can have the right lighting, wardrobe, and background and still be the wrong image to use. The issue is usually not obvious at first glance. A colleague may recognize that something feels off before they can name it: the eyes are set differently, the smile is too broad, the face shape has shifted, or a familiar feature has been softened away. Learning how to verify portrait likeness protects the one thing a professional image cannot afford to lose: recognition.
For a LinkedIn profile, company directory, speaker bio, or client-facing website, the goal is not to create a more photogenic stranger. It is to present a credible, current version of you with better production value. That distinction matters even more with AI-generated headshots, where a strong image needs to pass both a visual-quality check and a personal-identity check.
What portrait likeness actually means
Portrait likeness is more than whether an image resembles you in a broad sense. It is whether someone who knows you would identify you quickly and confidently, without pausing over details that do not match.
A good professional portrait preserves the features people use to recognize you in everyday life. Those usually include the relationship between your eyes, nose, mouth, jawline, hairline, skin tone, facial proportions, and typical expression. It should also retain the details that make your face distinct, such as the shape of your eyebrows, a natural asymmetry, a dimple, glasses, facial hair, or the way your smile sits.
This does not mean every portrait needs to replicate an unflattering phone-camera snapshot. Professional lighting can reduce harsh shadows, improve skin presentation, and make posture look more confident. The line is crossed when enhancement changes identity rather than presentation.
Why a polished image can still fail the likeness test
AI headshots are designed to infer a professional portrait from a small set of source photos. The result can be impressive while still containing subtle errors. A generated image may look plausible as a person, but not quite plausible as you.
The most common problem is feature drift. This happens when the image changes individual traits just enough to affect recognition: eyes become larger, lips fuller, a nose narrower, a jaw more angular, or the face slightly younger. Each change may seem minor in isolation. Together, they create a portrait that feels manufactured rather than true to life.
Expression can cause a similar problem. If you are usually recognized by a relaxed, closed-mouth smile, an unfamiliar wide grin may weaken the resemblance even when the facial geometry is close. The same applies to hairstyle, beard shape, glasses, and makeup. These choices can be refined, but they should remain within the range of how you actually present yourself.
There is a trade-off here. The most flattering proof is not always the most faithful one, and the most faithful proof may not be the strongest choice for a particular use. For example, a slightly more formal expression can work well for a law firm bio, while a warmer expression may fit a consultant or real estate profile. The baseline requirement remains the same: the image must still look unmistakably like you.
How to verify portrait likeness step by step
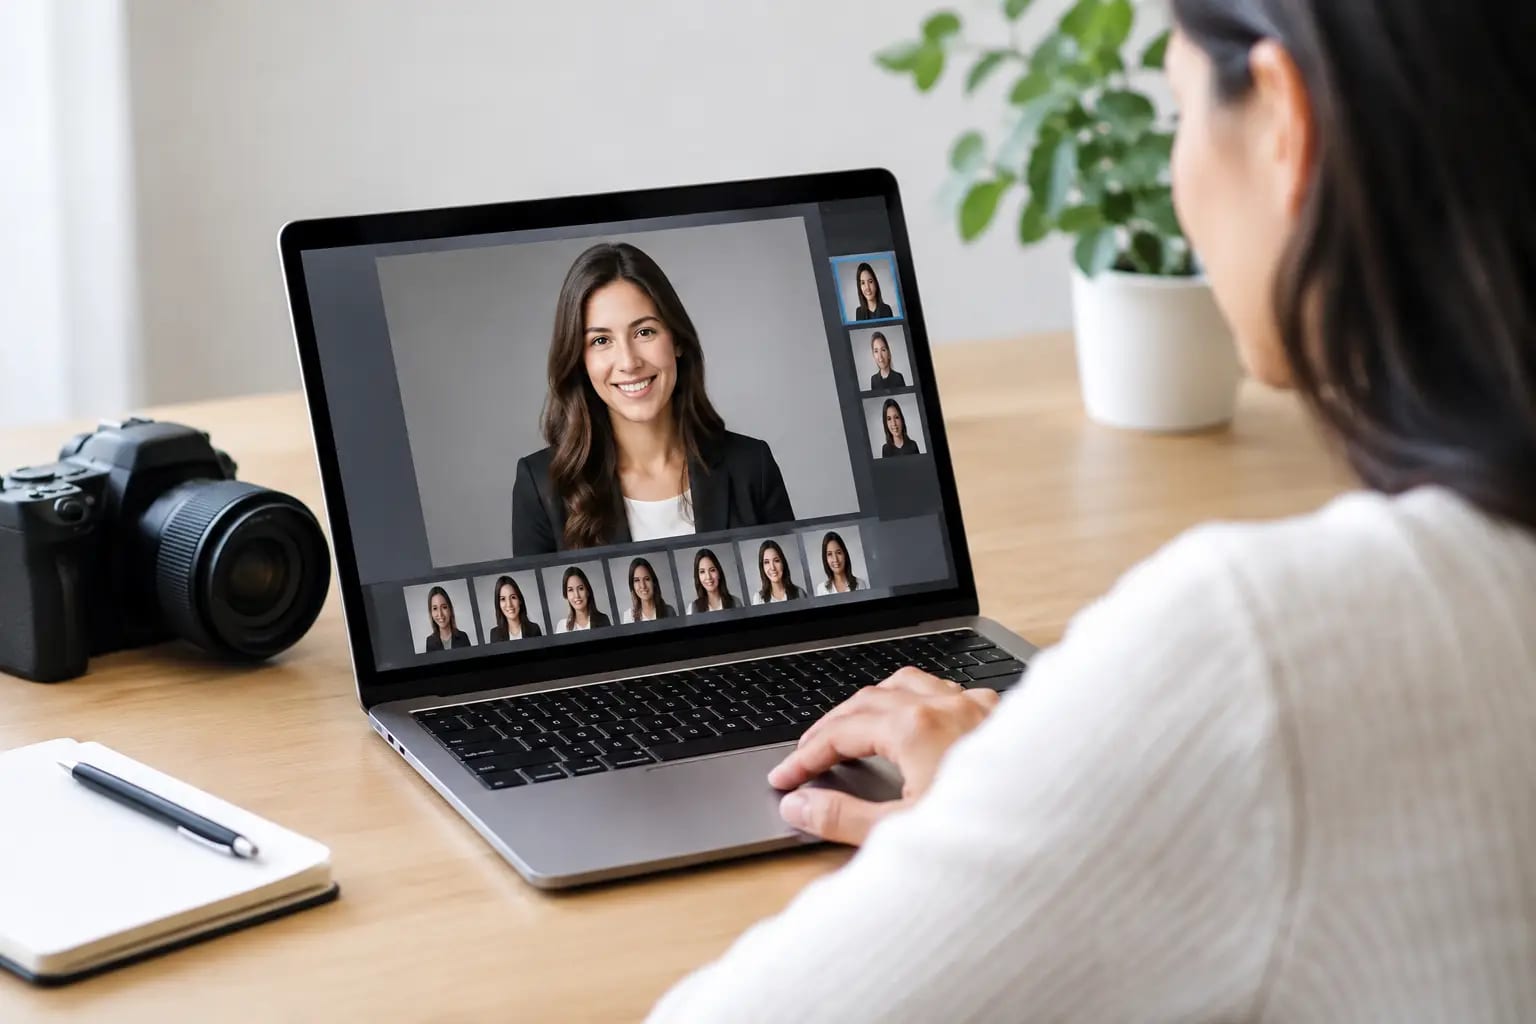
Start by reviewing your generated portraits beside two or three recent photos of yourself. Choose source images with different lighting and angles, not just one favorite selfie. Looking back and forth is more reliable than judging a new headshot from memory.
Check the features people recognize first
Focus on the center of the face before evaluating the outfit or backdrop. Compare the eye shape and spacing, eyebrow position, nose bridge and tip, mouth width, chin, jawline, and overall face proportions. Ask a simple question: if the portrait appeared in a workplace directory without a name, would a coworker immediately know it was you?
Pay particular attention to the eyes. They carry a large share of perceived likeness. An image can have your hairstyle and general face shape but still feel wrong if the eyes are overly symmetrical, too bright, pointed in an unnatural direction, or framed by altered brows.
Then look at distinctive details. If you regularly wear glasses, do the frames sit naturally? If you have a visible mole, dimple, beard pattern, or textured hair, has it been retained rather than smoothed into a generic version? Not every small feature needs to be identical, but several missing identifiers are a warning sign.
Review the portrait at normal viewing size
Do not inspect only at full resolution. Most people will see your headshot as a small circle on LinkedIn, a square tile in Microsoft Teams, or a compact image on an employee page. Shrink the image to the size where it will actually be used.
At that scale, look for a different set of concerns: Does the expression still read naturally? Are the eyes clear? Does the face appear proportionate? Is the crop balanced? A technically sharp image may be less effective if its small-format version makes your features look compressed, overly airbrushed, or unlike your familiar appearance.
Look for artifacts that affect credibility
Likeness and image quality are connected. A portrait can resemble you yet still feel unprofessional because of AI artifacts. Check the ears, hairline, teeth, glasses, jewelry, shirt collar, and fingers if they are visible. These are common areas where rendering mistakes become noticeable.
Also inspect the boundaries where hair meets the background and where glasses meet the face. Strange blur, duplicated strands, uneven lens reflections, warped earpieces, or mismatched shadows can distract from an otherwise convincing result. For career use, small defects matter because viewers tend to notice them precisely when an image is presented as professional.
Get one outside opinion, not a committee vote
If you are uncertain, send your top two or three options to someone who sees you regularly. Ask one focused question: “Which one looks most like me?” Avoid asking which image is most attractive or most polished. Those answers can point to a different photo.
One trusted observer is often enough. A large group can create noise because people respond to different expressions, wardrobe preferences, or personal expectations. You are looking for confirmation of recognition, not a popularity contest.
Source selfies determine how well likeness holds
The best way to improve likeness verification is to start with better source photos. AI has more reliable information when your uploaded selfies show your face clearly across a few natural angles and expressions.
Use recent photos taken in even light, with your full face visible and no heavy beauty filters. Include the way you currently wear your hair, facial hair, and glasses if those are part of your everyday professional appearance. Avoid extreme angles, dark sunglasses, group photos, motion blur, and images where your face is partly hidden by a hand, hat, or phone.
Variety helps, but consistency matters too. If one source photo is from several years ago or shows a dramatically different hairstyle, it can pull the result away from your current look. A set of one to six clear, current selfies gives the system a more dependable reference than dozens of mixed-quality photos.
Use scoring as a decision aid, not a substitute for judgment
Automated likeness scoring and artifact detection reduce the burden of evaluating every technical detail yourself. They can flag images that depart too far from your source photos, catch visual defects, and identify the most polished option for a professional setting.
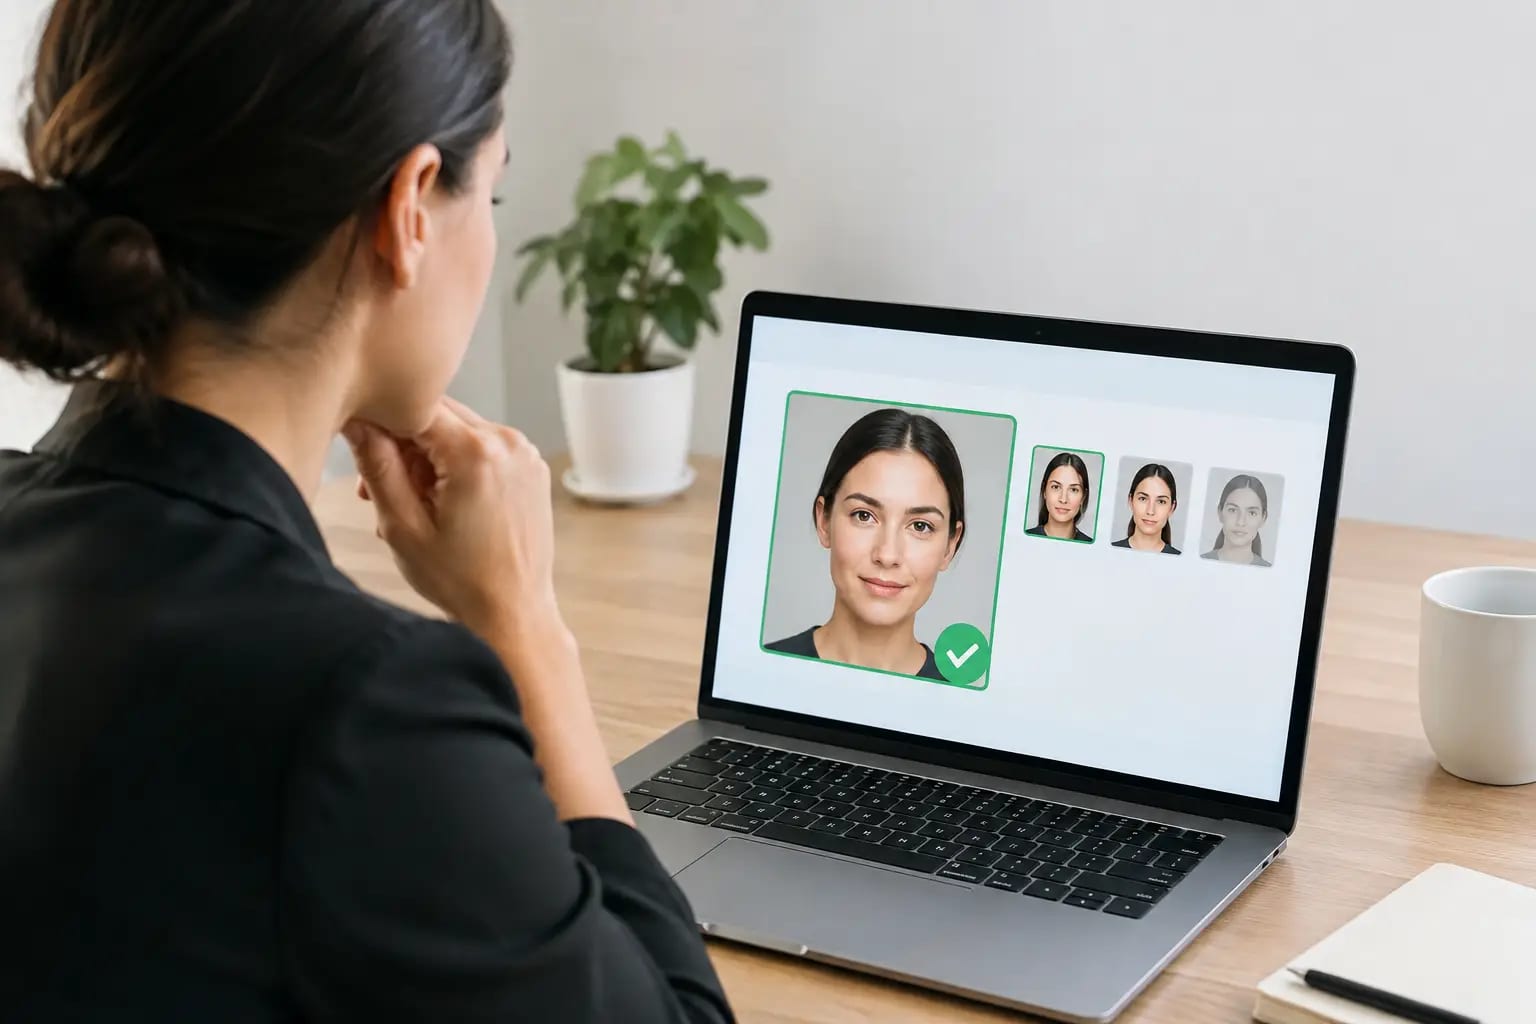
That quality-control layer is useful because it addresses a practical problem: many people know when a photo is good, but not why one proof is safer to use than another. Keeper Headshots pairs likeness checks with artifact review and a final graded recommendation, helping users move from a camera-roll upload to a usable selection without guessing.
Still, no score can fully replace your judgment. You know whether a certain expression feels authentic, whether your haircut is current, and whether an image reflects how clients and colleagues will recognize you. Treat the grade as strong evidence, then make the final call based on accuracy and context.
Match the final portrait to its job
Once you verify the likeness, choose the image that suits where it will appear. A LinkedIn headshot benefits from direct eye contact, a clean crop, and an approachable expression. A corporate bio may call for a more composed look. A speaker page can support slightly more energy, while a team directory usually works best when every employee follows a consistent crop and visual style.
Keep a square crop for profile platforms and a portrait crop for bios, press pages, or presentation materials. If you lead a team, consistency is especially valuable. Matching background, wardrobe formality, lighting, and framing makes a directory feel organized without making employees look interchangeable.
A professional headshot should make the next interaction easier, not create doubt. Choose the portrait that looks like you on a strong day, gives viewers confidence, and lets your work take center stage.