How to Prepare Photos for Rendering Better Headshots
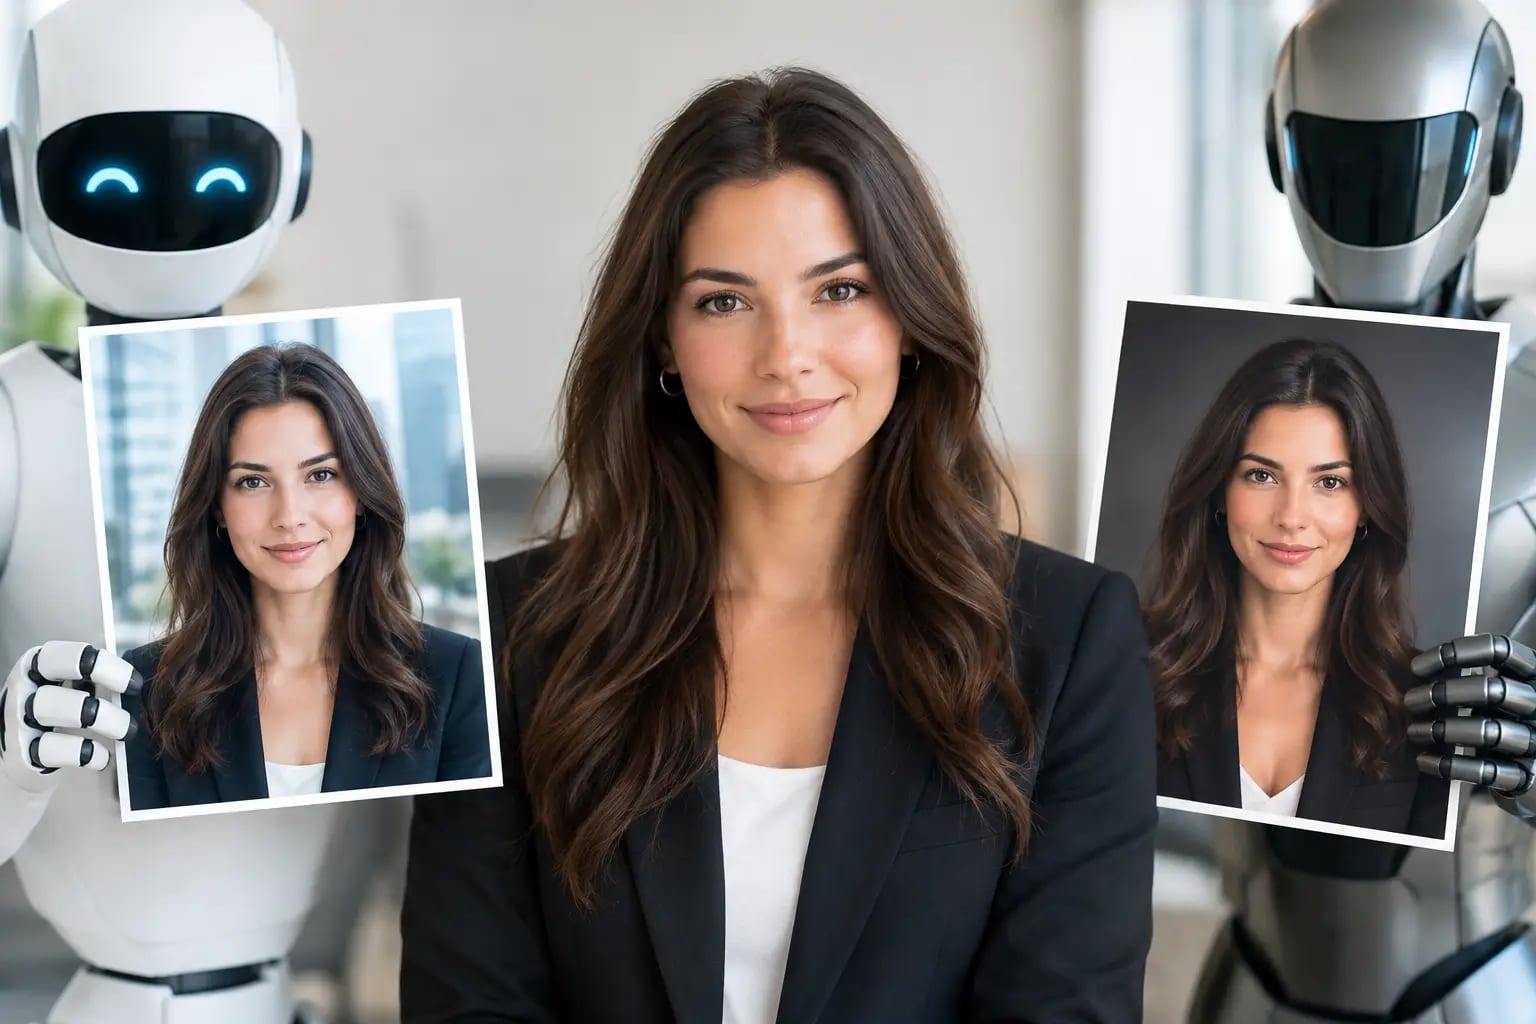
A strong AI headshot does not begin with a blazer or a backdrop. It begins with the few photos you upload. When you prepare photos for rendering well, the system has a clearer reference for your facial features, skin tone, expression, and proportions. The result is more likely to look like a polished version of you, not a plausible stranger in professional clothing.
That distinction matters when the image will represent you on LinkedIn, a company website, a speaker bio, or Microsoft Teams. A professional headshot should feel current, credible, and recognizably yours. The preparation process is quick, but a few choices can have an outsized effect on likeness and finish.
What Rendering Needs From Your Source Photos
AI rendering works from visual evidence. Your source photos give it information about the shape of your face, your eyes, hairline, smile, skin texture, and the way you naturally hold your head. Clear, varied selfies provide better evidence than a single heavily filtered image or a collection of near-identical photos taken in poor light.
The goal is not to submit photos that already look like studio portraits. Everyday phone photos are usually enough. What matters is that they show you clearly and consistently.
Think of your uploads as a short visual introduction. If every photo is dim, cropped tightly, hidden behind sunglasses, or altered by beauty filters, there is less reliable information to work from. If your images are clear and natural, the rendering process can focus on creating the professional setting rather than guessing what you look like.
Choose Recent Photos That Look Like You Now
Start with current photos. Ideally, use images from the last year, especially if your hairstyle, facial hair, glasses, or hair color have changed. Your finished headshot should match the person a recruiter, client, colleague, or event organizer expects to meet.
This is especially relevant for professionals returning to the job market or updating a company profile after several years. An old photo may be flattering, but it can create a mismatch that weakens trust. A credible headshot does not need to erase every sign of time passing. It needs to present you at your best as you are now.
If you wear glasses most days, include photos with them. If you alternate between glasses and contacts, decide which version should appear in your professional image and make your upload set consistent. The same principle applies to facial hair. Mixing photos from before and after a major change can make it harder to produce a reliable likeness.
Use Clear Light, Not Perfect Light
Natural window light is often the easiest option. Face a window or stand at a slight angle to it so your face is evenly visible. Avoid standing with a bright window directly behind you, which can leave your face in shadow and make details harder to read.
Indoor overhead lighting can work, but check for harsh shadows beneath the eyes or chin. Outdoor photos are also useful when the light is soft and your face is not squinting. A shaded area or an overcast day generally produces more even results than direct midday sun.
You do not need a ring light, a camera, or a white backdrop. In fact, the source background matters less than the clarity of your face. A normal room, office, or outdoor setting is fine as long as it does not cover you in dark shadow or cast unusual color across your skin.
Show Your Face From More Than One Natural Angle
A useful set of source photos includes a few relaxed variations rather than six copies of the same selfie. Include mostly front-facing images, then add a slight left or right turn. Keep your full face visible, and avoid extreme angles from above or below.
For most people, the best combination is a mix of neutral and lightly smiling expressions. A natural smile can help the result feel open and approachable, particularly for client-facing roles. A calm, composed expression may suit legal, executive, medical, or corporate settings. Neither is universally better. The right choice depends on where the headshot will appear and how you want to be perceived.
Keep the camera roughly at eye level when possible. Photos taken from far below the face can distort the jaw and nostrils, while steep overhead selfies can change facial proportions. Hold the phone at a comfortable distance instead of using an ultra-close crop.
Avoid Filters, Obstructions, and Heavy Editing
The best source photo is usually an unfiltered one. Beauty modes, face-slimming tools, dramatic color grading, and smoothing effects can interfere with accurate likeness. Even subtle edits may change skin texture, eye shape, or facial proportions enough to create inconsistent results.
Before uploading, remove photos with sunglasses, hats that hide the hairline, masks, hands across the face, or strong reflections on glasses. Skip group photos unless you can crop yourself cleanly and at a useful size. Avoid images where your face occupies only a small part of the frame.
There is one practical exception: ordinary prescription glasses are not a problem when they are part of your everyday appearance. Just choose photos where the lenses are clear and your eyes remain visible. If glare is severe in several photos, add alternatives without glare so the system has a better view of your features.
Build a Consistent Set of One to Six Photos
More photos are not automatically better. A small, coherent set is more useful than a large collection of conflicting looks. Choose one to six images that reflect the same current version of you.
Before you submit, make a quick pass through this checklist:
- Your face is visible in each image, including your eyes and hairline.
- The photos are recent and match your current hairstyle, glasses, and facial hair.
- Lighting is clear enough to show natural facial detail.
- At least one photo is front-facing, with a few mild angle variations.
- Filters, extreme crops, sunglasses, and face-obscuring accessories are absent.
This takes less than a minute, but it prevents the most common source-photo issues. It also helps you avoid submitting a favorite image simply because it has a flattering vacation background or a dramatic filter. For rendering, accuracy is more valuable than mood.
Dress for Clarity, Not for the Final Wardrobe
You do not need to wear a formal outfit in the photos you upload if you plan to select professional wardrobe options later. The rendering process can create a business-casual, corporate, or executive-ready look. What it cannot replace is a clear reference of your face.
Still, simple clothing can help. Solid colors and uncluttered necklines keep attention on your face. Avoid overly reflective fabrics or busy patterns close to your chin if they distract from the image. If you have a strong preference for how your collar, hairstyle, or jewelry appears in a final headshot, include at least one source image that reflects it.
For teams, consistency matters even more. Employees do not have to arrive at a studio in matching outfits or coordinate schedules. They do need to follow the same source-photo standards so each finished portrait starts from equally usable material. A consistent final style looks more intentional when every team member provides clear, current references.
Review Your Photos Before You Start Rendering
A quick review is the difference between hoping for a good result and setting one up. Open each image at full size on your phone. Can you see your eyes clearly? Does the photo resemble you on a normal workday? Is the lighting true to your skin tone? If the answer is yes, it is probably a strong candidate.
If an image feels slightly off, trust that instinct. You may notice a shadow, lens distortion, an outdated haircut, or an expression that does not feel like you. Replace it rather than assuming the final rendering will correct every inconsistency.
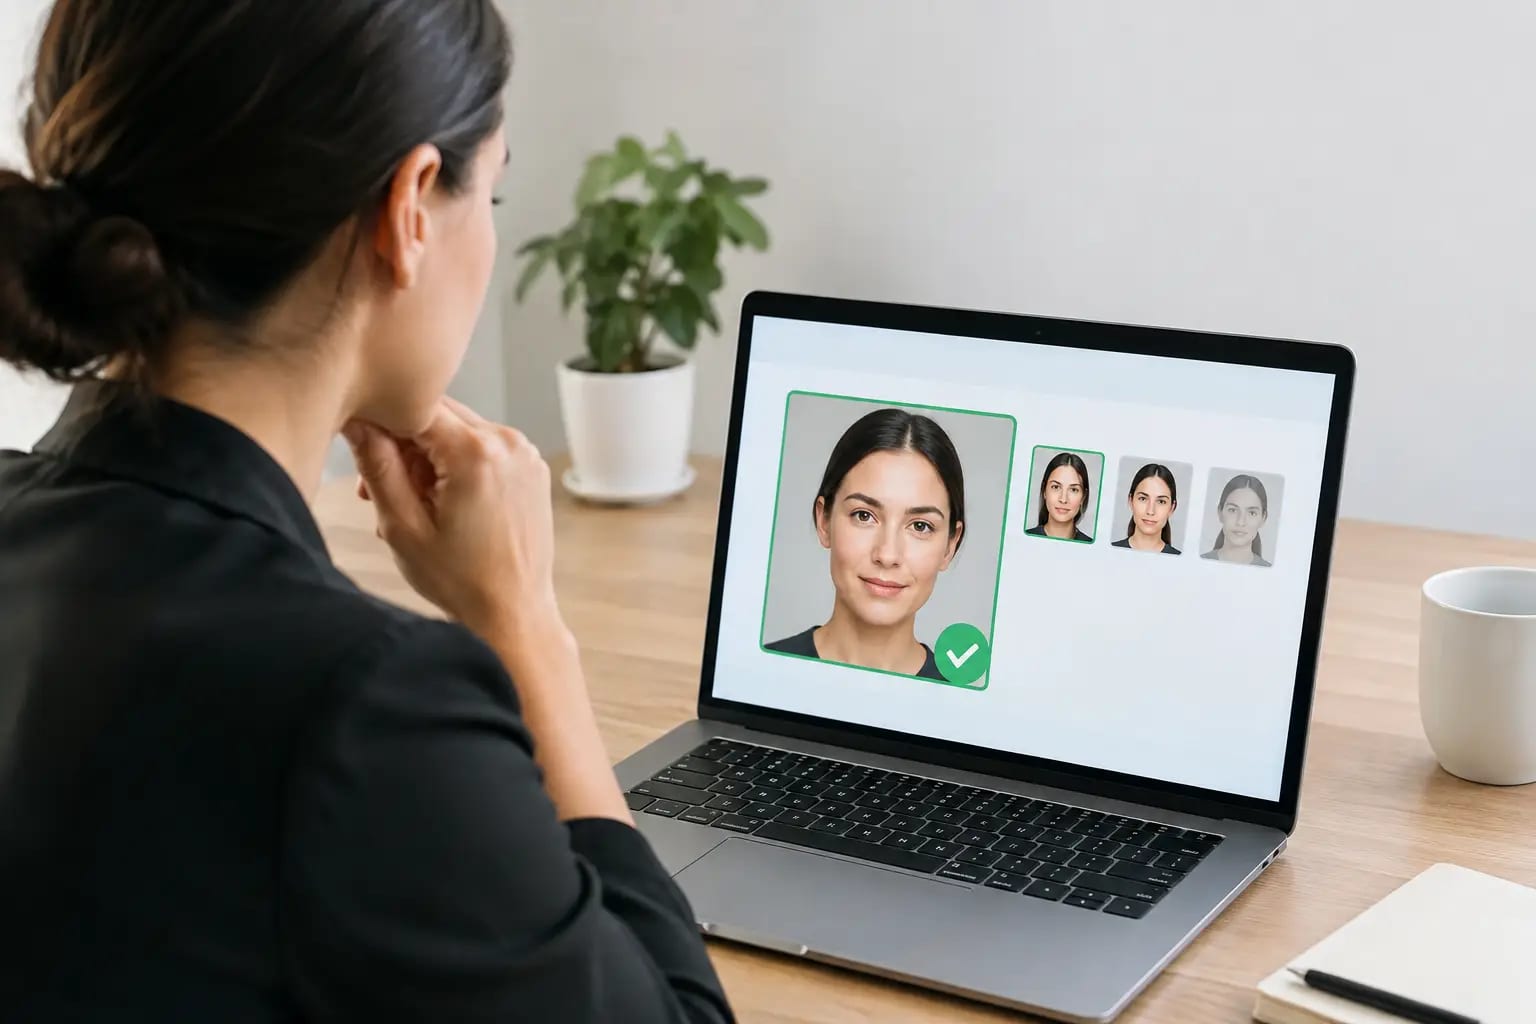
Quality controls add useful reassurance here. Keeper Headshots checks submitted photos before rendering and evaluates completed images for likeness, polish, and common visual artifacts. That process helps identify photos that need another look, then gives you a clear recommendation on which final image is strongest for professional use.
Prepare Photos for Rendering With the End Use in Mind
The right headshot is not exactly the same for every platform. A LinkedIn profile photo should usually be warm, clear, and closely cropped enough to work at a small size. A company leadership page may call for a more formal wardrobe and composed expression. A speaker bio can support a little more personality, provided the image still reads as professional.
Your source photos do not need to solve these styling decisions. They simply need to give the rendering process an accurate foundation. Once that foundation is solid, you can choose the wardrobe, backdrop, and crop that match the job the image needs to do.
A good headshot should make the next professional step feel easier: applying for the role, introducing yourself to a new client, updating a team page, or stepping onto a virtual meeting with confidence. Start with photos that show you clearly, and let the final portrait do the rest.