How to Create a Lawyer Headshot From a Selfie
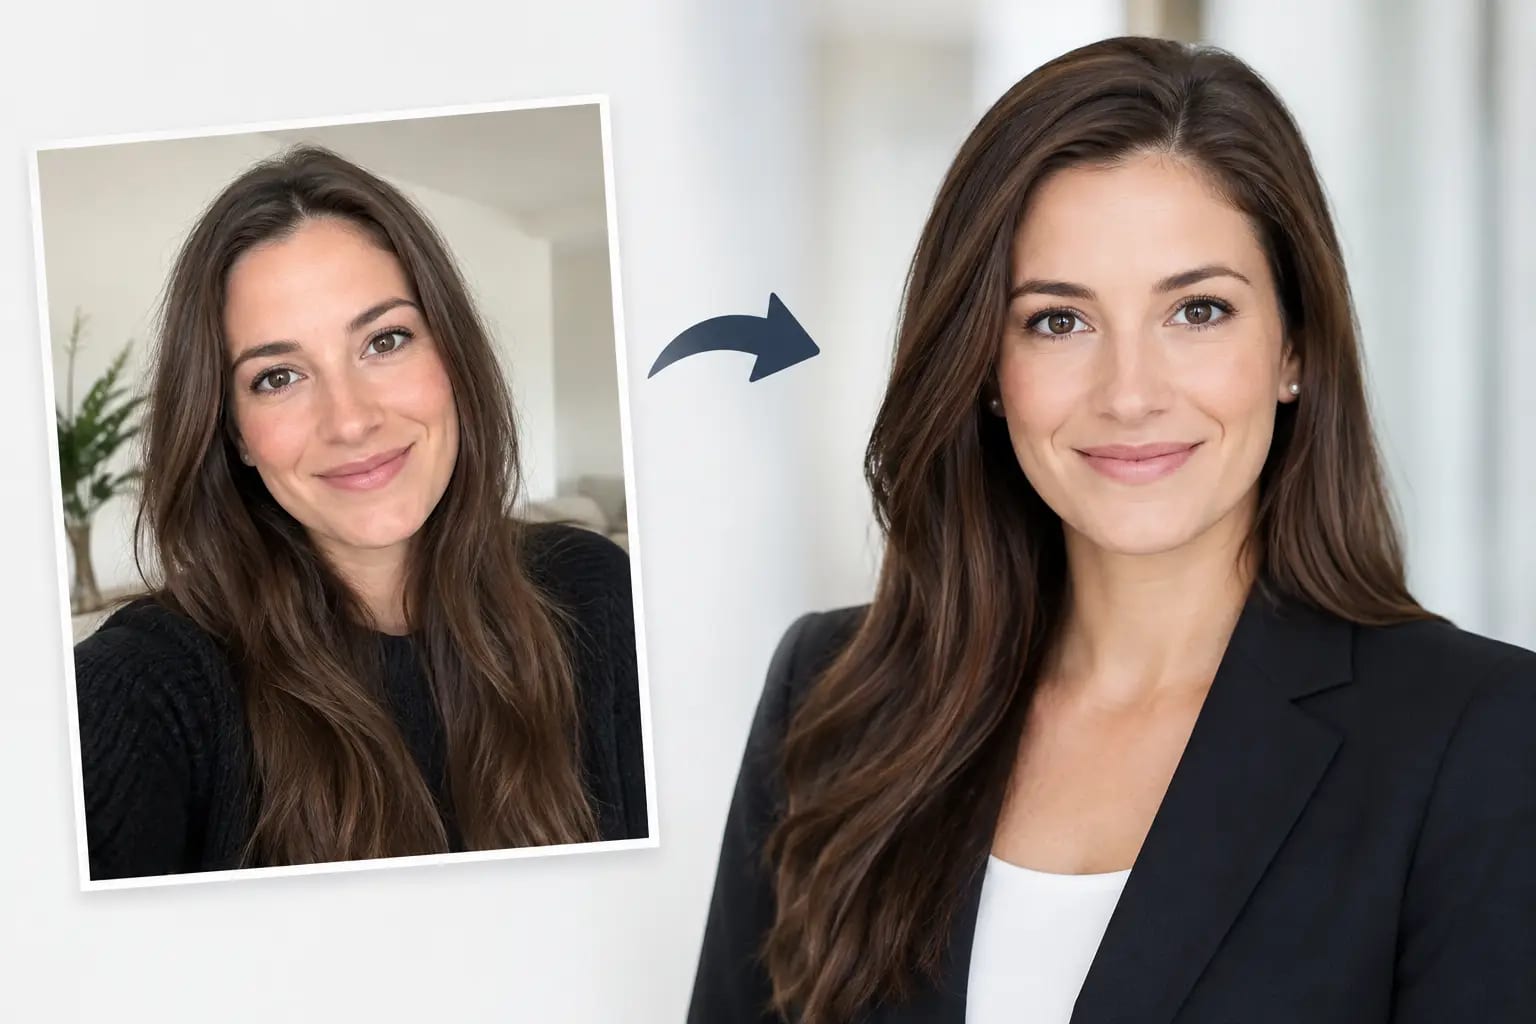
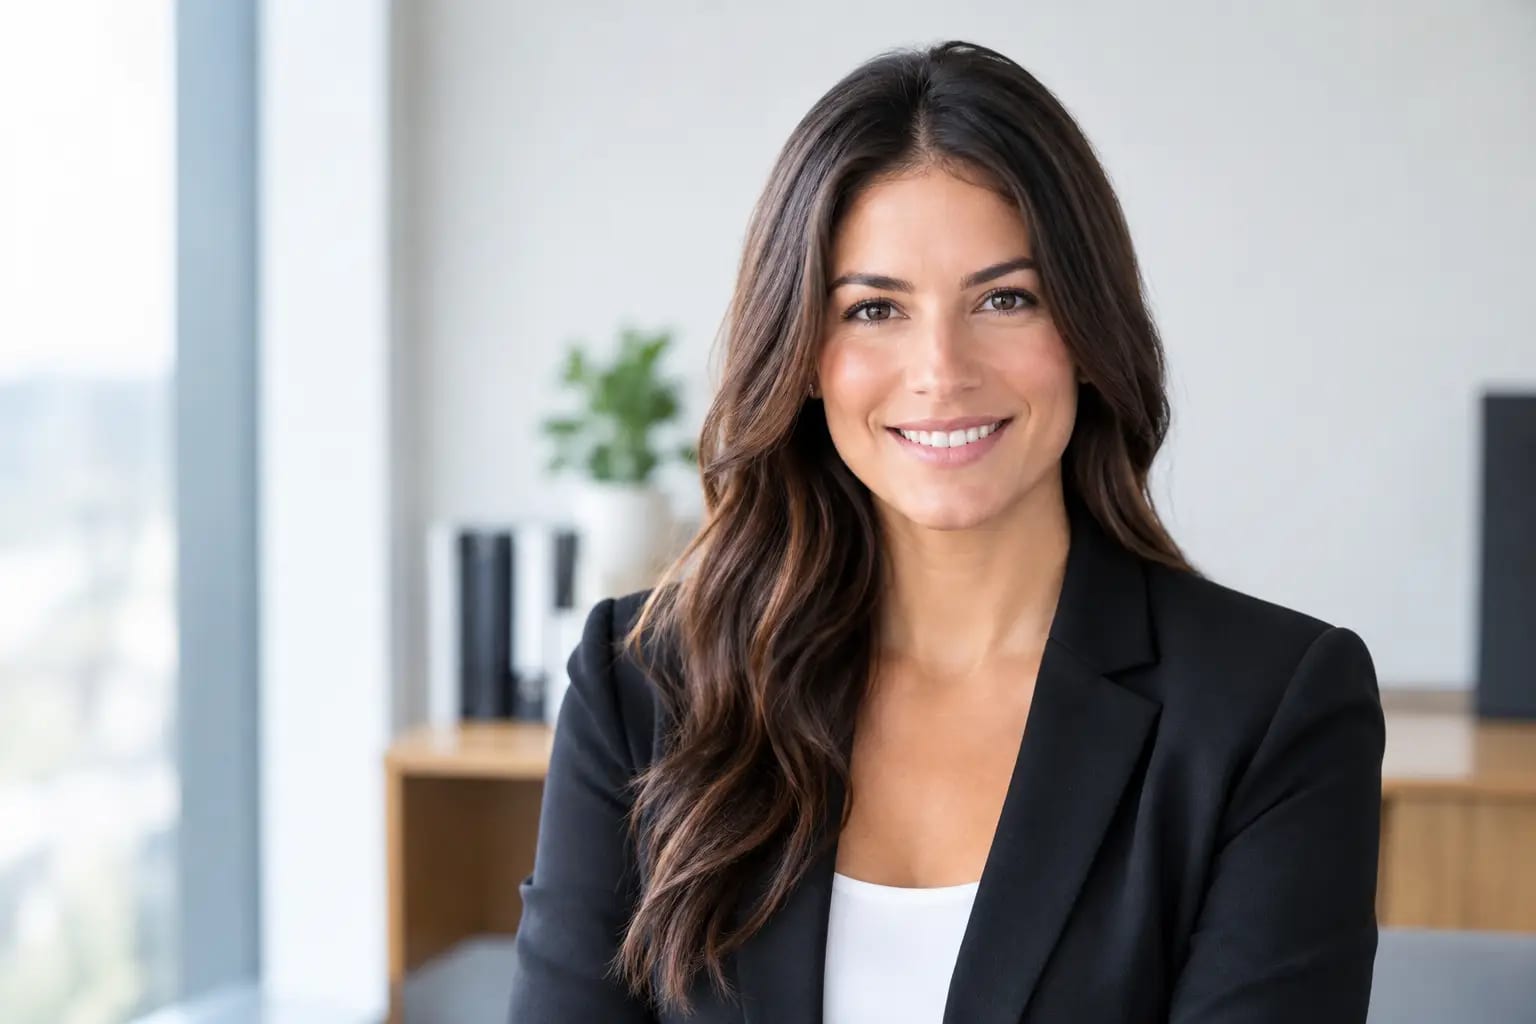
A lawyer headshot from selfie photos has to do more than look polished. It needs to make a prospective client, referral partner, recruiter, or opposing counsel feel that the person behind the image is credible, composed, and current. That is a high standard for a photo that begins in your camera roll, but it is achievable when the source images and final style are handled with care.
A traditional studio session can cost hundreds of dollars, require scheduling around court, client meetings, and travel, and still leave you deciding between nearly identical proofs. A guided AI headshot workflow offers a more practical path: start with a few good everyday photos, choose an appropriate professional look, and review a finished image that has been checked for likeness and visible defects.
What a Legal Headshot Needs to Communicate
Legal work is built on judgment. Your headshot is not evidence of your legal ability, but it is often the first visual signal on a firm website, LinkedIn profile, speaker bio, or attorney directory. The right image should feel approachable without being casual, confident without looking staged, and polished without turning you into a different person.
For most attorneys, a clean head-and-shoulders crop works best. Your eyes should be clear, your expression relaxed, and your clothing should hold up at a small size. A client may first see the image as a thumbnail next to a practice area, so details that look impressive only at full resolution are less valuable than a clear face, balanced lighting, and professional posture.
The context matters, too. A litigation partner, estate-planning attorney, public defender, and solo family-law practitioner may all choose slightly different visual signals. The goal is not to force every lawyer into the same navy-suit portrait. It is to select a presentation that fits the audience while meeting the baseline expectation of professional care.
Start With Selfies That Give You a Strong Result
The final headshot can only be as convincing as the visual information in the photos you provide. You do not need photography equipment or a perfectly curated feed. You do need a handful of recent images that show your real features clearly.
Choose one to six photos taken within roughly the last year, especially if you have changed your hairstyle, facial hair, glasses, or usual professional look. Use a mix of front-facing and slightly angled images. Natural window light is often excellent because it illuminates both sides of the face without the harsh shadows that overhead office lighting can create.
Avoid sunglasses, hats, heavy beauty filters, extreme angles, and photos where your face is partially blocked by a hand, phone, drink, or another person. A group photo may seem usable because your face is visible, but aggressive cropping can reduce detail. The same goes for a distant vacation photo. A clear, ordinary indoor selfie is usually more useful than a stylish image where your face occupies a small part of the frame.
Pay attention to expression. A neutral face can read as severe in a legal profile, while a broad laugh may be too informal for a firm biography. Aim for the expression you would use when greeting a new client in a well-run office: attentive, calm, and open. If you wear glasses every day in client meetings, include them in at least some of your source photos. Consistency makes the final image feel more like you.
How a Lawyer Headshot From a Selfie Becomes Professional
A purpose-built headshot service should not simply apply a generic filter and call the result professional. The better process evaluates the source images before generating anything, because poor inputs create predictable problems with facial detail, eyewear, hands, hairlines, and lighting.
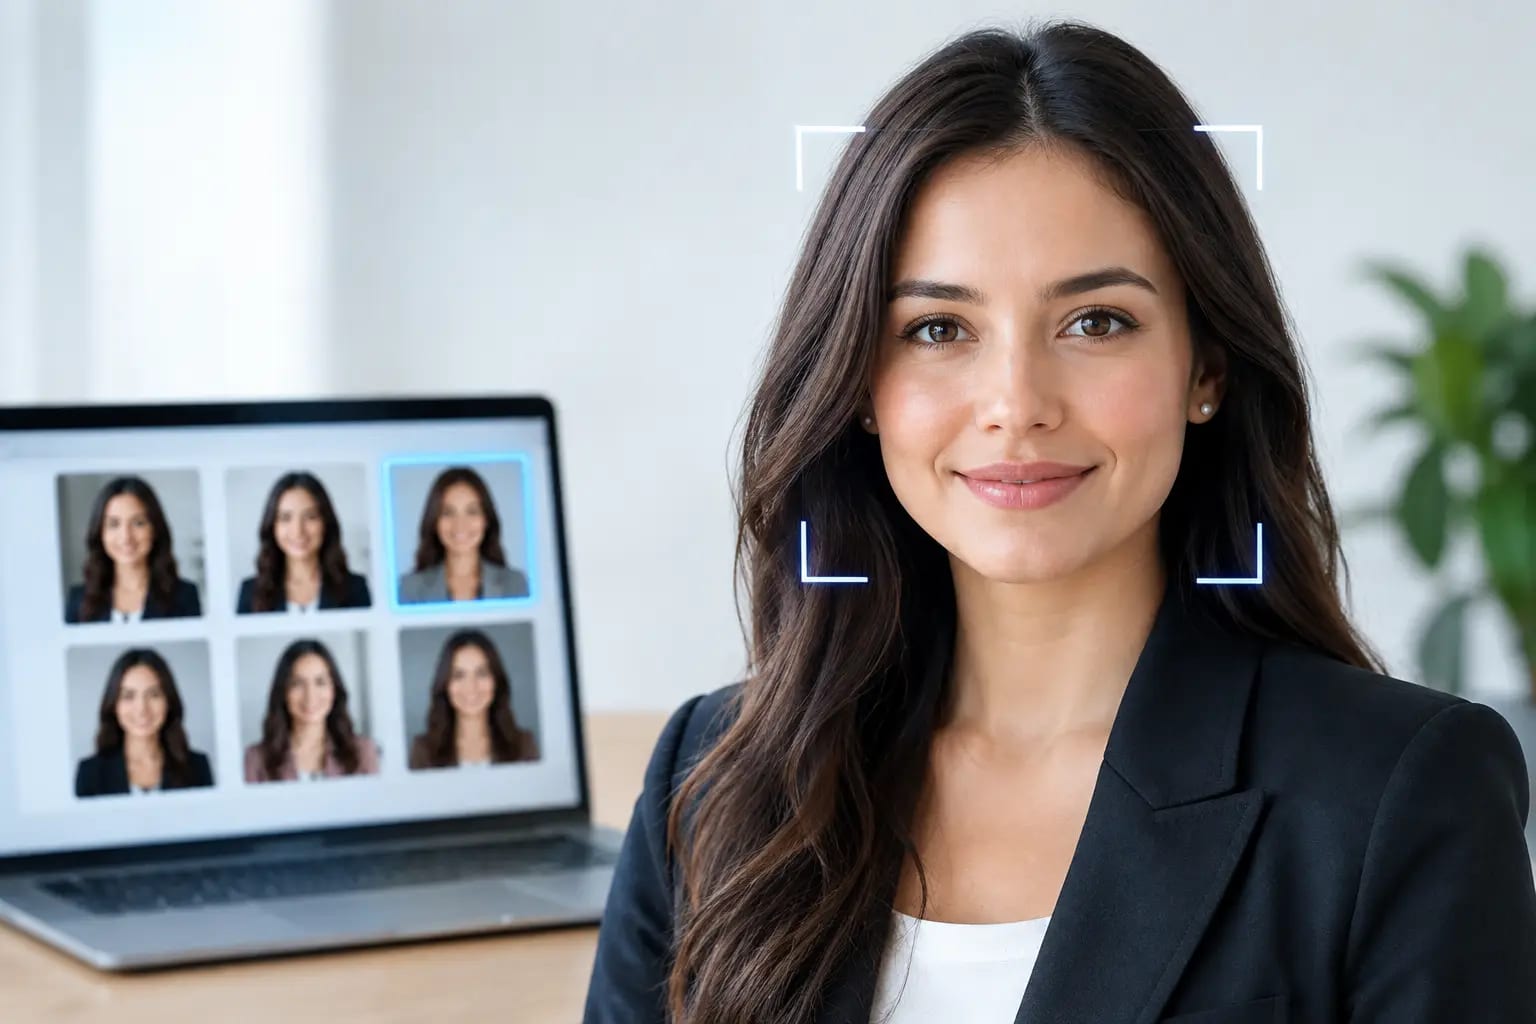
With Keeper Headshots, the workflow begins with photo-quality checks on your uploads. After selecting wardrobe and backdrop directions, the system creates polished options and evaluates them for likeness, image artifacts, and overall finish. Failed generations can be retaken automatically, rather than asking you to accept the first image produced. The final set includes a graded recommendation, so you can identify the strongest image for a firm site, LinkedIn, or a square directory profile without second-guessing the choice.
That quality-control layer is especially useful for attorneys. The objective is not an aspirational version of your face. It is a current, recognizable portrait that presents you at the standard clients expect. If an image changes your face shape, makes your skin look plastic, alters the way your glasses sit, or creates an unnatural smile, it may look polished at first glance but undermine trust on closer review.
Choose Wardrobe and Background With Restraint
For a lawyer, clothing should support the face rather than compete with it. A dark navy, charcoal, black, or deep green jacket is a reliable option, paired with a solid shirt or blouse. Subtle texture can add depth, but tiny patterns and high-contrast stripes can distract in web-sized crops.
A suit is often the safest choice for firm bios, executive roles, and client-facing practices. Still, it depends on your environment. A business-casual jacket may be a better fit for a startup counsel, mediator, legal operations leader, or approachable solo practice. The test is simple: would a client who meets you after seeing this image recognize the same professional presence?
Background choice should be equally deliberate. A soft neutral studio background creates a classic, versatile headshot. A restrained office setting can work when it looks real and uncluttered. Avoid dramatic cityscapes, courtroom imagery, bookshelves packed with visual noise, or backgrounds that imply a location you do not actually work in. Your name, credentials, and practice experience should carry the authority. The image only needs to frame them well.
Pick the Right Crop for Each Use
One finished image is rarely enough if you publish across several professional channels. A portrait-oriented crop gives your firm biography and speaker page room to breathe, while a square crop is useful for LinkedIn, Microsoft Teams, attorney directories, and internal profiles.
Keep your eyes in the upper half of the image and leave enough room around your shoulders that a platform can crop the photo without cutting into your chin or hair. Do not submit a full-body image for a space designed for a face. The most effective attorney headshots are usually simple: face visible, shoulders balanced, background quiet.
Here is how the primary formats compare:
| Use case | Best crop | What matters most |
|---|---|---|
| Law firm website | Vertical or 4:5 portrait | Consistent styling with the attorney team |
| LinkedIn profile | Square | Clear face at small sizes |
| Speaker bio or press kit | Vertical portrait | High-resolution image with breathing room |
| Microsoft Teams or directory | Square | Centered face and even lighting |
Do Not Trade Recognition for Polish
AI-assisted photography can save time, but it should not create an identity problem. Before publishing, compare the image with a recent candid photo and ask a colleague who sees you regularly for a quick read. Do the facial features, age, hairstyle, glasses, and expression match? Does the wardrobe align with how you would actually appear for an important client meeting?
Also check the practical details at full size. Look closely at ears, teeth, jewelry, shirt collars, lapels, hair edges, and the frames of your glasses. These are common areas where low-quality generated images can look wrong. A quality review should flag or avoid those defects, but your own final look matters because your reputation is attached to the image.
If your firm has brand standards, follow them before choosing a backdrop or wardrobe. Many firms prefer consistent backgrounds and similar crops across attorney bios. That consistency makes a team page feel organized, but it does not require every person to look identical. A coherent visual system can still leave room for individual style.
A credible headshot should make the next step easier: someone sees your profile, feels confident reaching out, and arrives at the first conversation with a clear sense of who they will meet. Start with photos that genuinely look like you, select a setting that matches your practice, and let the final image do its quiet work.