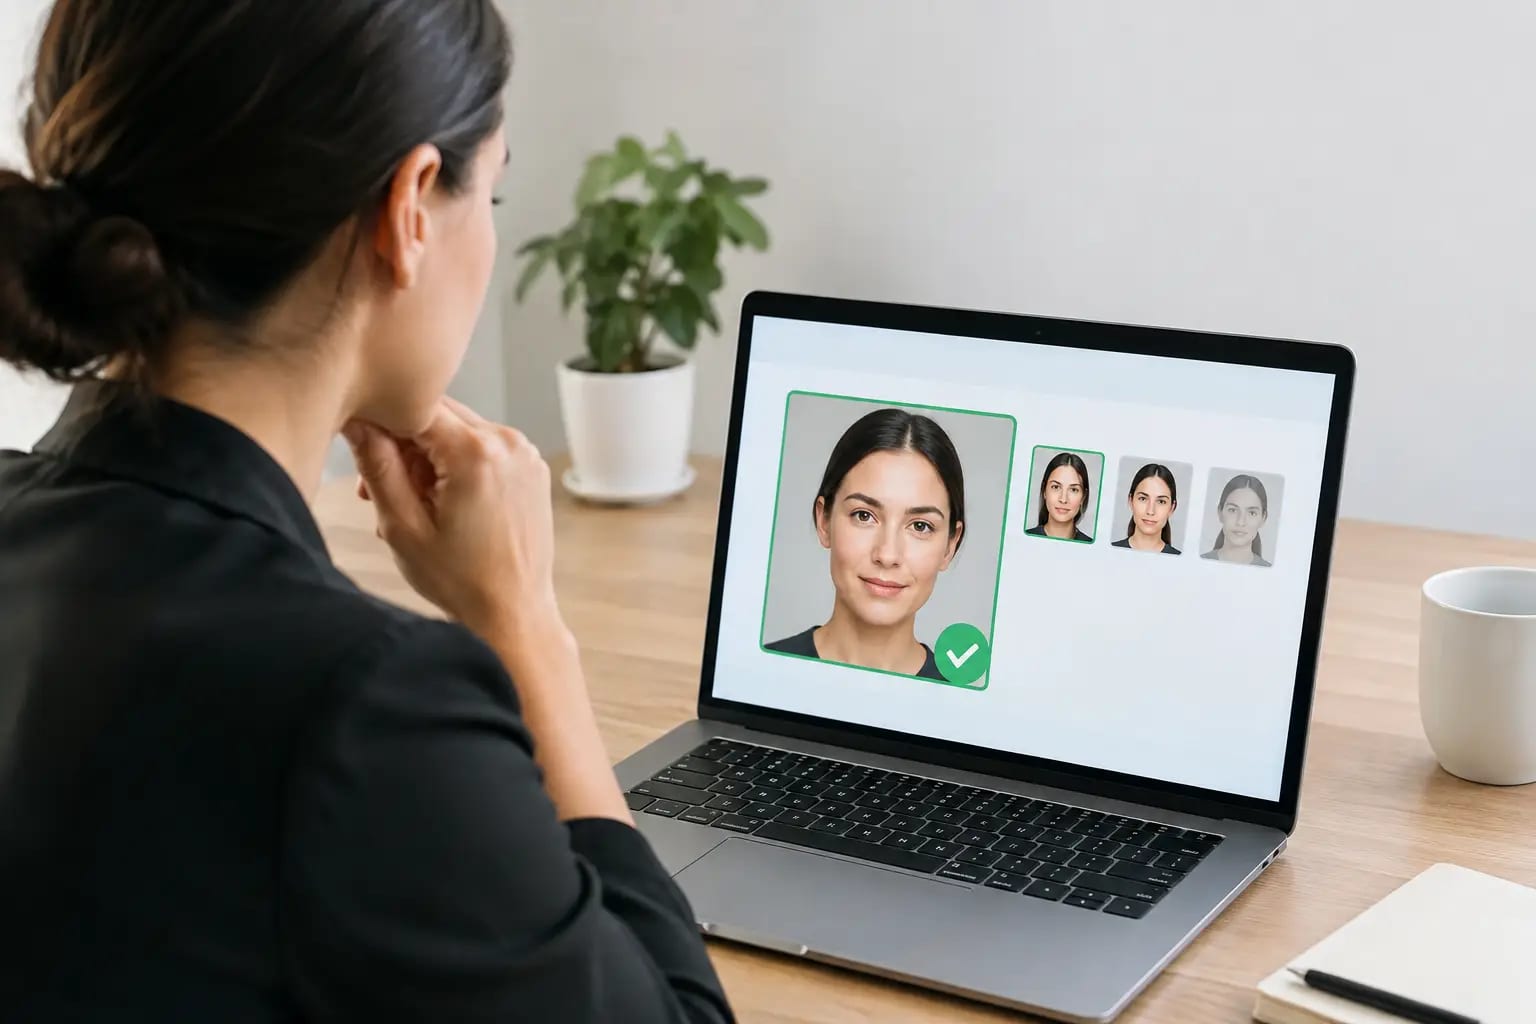
How to Improve Headshot Lighting From Home

A headshot can have the right outfit, expression, and crop and still feel unconvincing for one simple reason: the lighting makes it look accidental. Harsh overhead bulbs create deep eye shadows. A bright window behind you turns your face into a silhouette. Mixed room lighting can add an unflattering orange or green cast that reads as less polished on LinkedIn, a company site, or a speaker bio.
The good news is that you do not need a studio full of equipment to improve headshot lighting. You need soft, even light on your face, a camera position that supports it, and a room that does not compete with you. A few intentional adjustments can make everyday selfies far more useful as source photos for a professional headshot.
What Good Headshot Lighting Actually Does
Professional lighting is not about making your face look dramatically different. It should make you look clear, alert, and recognizably like yourself on a small screen as well as in a larger profile image. The strongest headshots keep the light balanced across both sides of the face, preserve detail around the eyes, and avoid bright distractions in the background.
For career use, flattering usually means believable. A highly directional, moody look may suit a creative portrait, but it can feel less approachable for a corporate directory, medical practice, or client-facing consulting profile. Aim for clean light with gentle definition, not a theatrical effect.
This is also why a brighter image is not automatically a better image. Too much direct light can flatten your features, wash out skin tone, and cause squinting. The goal is controlled softness.
Improve Headshot Lighting With a Window
A window is often the best free light source available. It is large, broad, and naturally diffused compared with a ceiling fixture or phone flash. Stand facing the window, with your face about three to six feet away. This distance gives you soft illumination without putting you so close that one side of your face becomes overly bright.
Avoid placing the window directly behind you. Backlighting can work in editorial photography, but it is difficult to expose correctly with a phone and rarely ideal for a professional headshot. Your camera will often brighten the window instead of your face, leaving your features dark.
If direct sun is pouring through the glass, step back from the window or use a sheer curtain. Direct midday sunlight creates hard shadows under the nose, chin, and brow. A thin white curtain turns that sharp light into a much more forgiving source. On a cloudy day, window light is often already ideal.
Choose the right angle
Start with your shoulders turned slightly away from the window and your face angled back toward it. This creates a little natural shape without losing clarity. If one side of your face looks much darker, turn a few degrees closer to the window until the shadow softens.
A straight-on position works well when you want an open, direct look. A slight angle can feel more dimensional. Neither is universally better. The right choice depends on your face, the strength of the light, and where the final headshot will appear.
Use a simple reflector when needed
If your window creates a shadow on the side of your face away from it, place a white poster board, sheet of paper, or light-colored wall nearby to bounce some light back. You do not need to see a dramatic change. A subtle lift in the shadows is enough to keep your eyes visible and your skin tone even.
Turn Off Lighting That Works Against You
Once window light is doing the work, turn off nearby overhead lights and lamps with colored bulbs. This is one of the fastest ways to get a cleaner photo.
Different light sources produce different color temperatures. Daylight tends to look neutral to cool, while household bulbs can appear warm yellow or orange. When both hit your face, phone cameras struggle to correct the colors consistently. The result can be a forehead that looks cool while the jawline looks warm, or skin that appears slightly green near fluorescent fixtures.
If you are shooting after dark, choose one light source rather than mixing several. A large lamp bounced off a white wall can be better than a bare bulb pointed at your face. Ring lights can also work, especially for close selfies, but set them low enough to avoid a shiny forehead and obvious circular reflections in the eyes.
Phone flash is usually the least flattering option. It creates flat light, brightens texture, and throws a hard shadow onto the wall behind you. Save it for situations where there is no usable ambient light at all.
Put the Camera Where the Light Helps You
Your phone should be at eye level or just slightly above it. A camera held too low emphasizes the underside of the chin and can make even good lighting look awkward. A camera positioned too high can create a disconnected, overly casual angle.
Keep the phone close to your face rather than extending your arm as far as possible. Wide-angle front cameras can distort features at very close range, but a moderate distance with a slight crop is usually more natural. If someone can take the photo for you using the rear camera, that may provide more detail. Still, a well-lit front-camera selfie can be an excellent source image.
Look toward the camera, not at your own preview. Before taking the photo, tap your face on screen to set focus and exposure. If your face looks too bright, lower the exposure slightly with the on-screen control. Preserving highlight detail is easier than recovering it later.
Set Up a Background That Does Not Compete
Lighting and background are connected. A bright white wall behind you can cause the camera to darken your face. A dark background can make your camera brighten the scene too aggressively. Neither is a dealbreaker, but both affect exposure.
Choose a simple background with some distance between you and the wall if possible. Even two or three feet helps reduce hard shadows and adds a little separation. Neutral walls, tidy offices, and softly blurred rooms tend to work well. Avoid windows, ceiling lights, busy shelves, and strong patterns directly behind your head.
Pay attention to reflective surfaces, too. Mirrors, glossy art, and television screens can bounce strange highlights onto your face. If the background is visually busy, move rather than trying to fix everything through camera settings.
Take More Than One Version
Lighting shifts as clouds move, the sun changes position, or you adjust your stance. Take several photos rather than relying on a single frame. Keep the setup consistent and make small changes: face the window directly in one image, turn slightly in another, and test a slightly different camera height.
The useful differences are often subtle. In one photo, your eyes may look more open. In another, your jawline may have better definition. A good headshot is not just technically correct. It should communicate calm confidence and feel current enough to represent you in a professional setting.
For source photos used in an AI headshot workflow, variety also helps. Use images with clear faces, different natural expressions, and consistent quality. Avoid heavy filters, sunglasses, extreme low light, and group photos where your face is small. Tools such as Keeper Headshots can check uploaded photos for usable quality before rendering, but starting with clear, evenly lit selfies gives the system better material to work with.
A Quick Lighting Check Before You Upload or Send
Before you select a photo, inspect it at full size and then at the smaller size where most people will see it. Ask whether both eyes are clear, whether your skin tone looks natural, and whether there are hard shadows under the eyes or nose. Check that the brightest part of the image is not a window, lamp, or background object.
Also look for the practical details that affect credibility: a sharp focus on the eyes, no motion blur, no severe color cast, and no distracting shadow on the wall. You do not need perfection. You need a source image that gives your face enough clear, honest visual information to carry into a finished professional portrait.
The best lighting setup is the one you can repeat without a complicated shoot. Face a softened window, simplify the room, raise the camera to eye level, and give yourself a few extra frames. That small amount of intention can take a photo from camera roll to a headshot you are comfortable putting in front of clients, colleagues, and hiring managers.